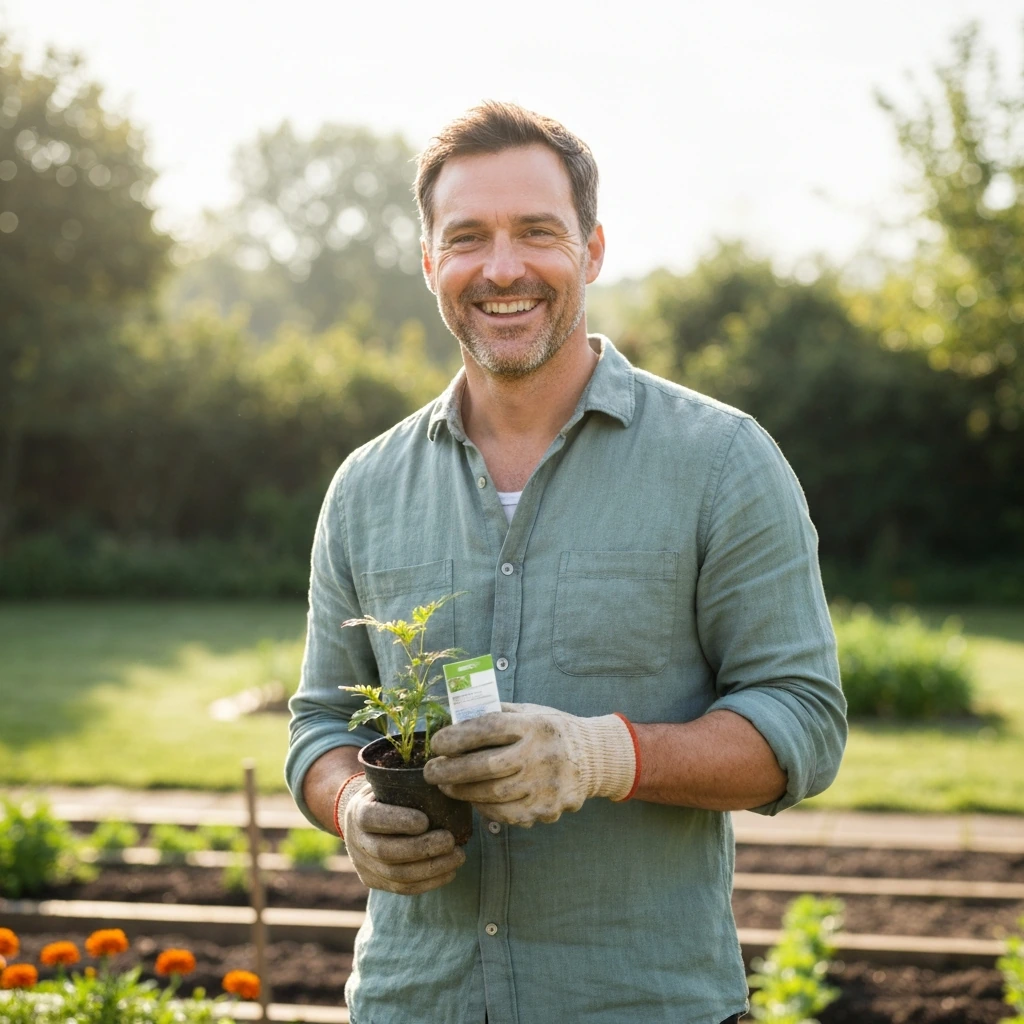
Growing a flower from seed to bloom follows the same basic path every time: seed germinates, seedling establishes, plant matures, flower opens. The steps are predictable, the timeline is manageable, and almost anyone can pull it off with a little preparation. What trips most beginners up isn't any single hard step, it's not knowing what to expect at each stage or what to do when something looks off. This guide walks you through the whole process in order, with real timing, specific examples, and the troubleshooting notes that actually matter.
Steps to Grow a Flower From Seed to Bloom
James Holloway
24 Mar 2026
How a flower actually grows: seed to bloom
Before you dig into the steps, it helps to picture the full arc. A seed contains everything it needs to become a plant, it just needs the right conditions to unlock that potential. Once moisture, warmth, and (for many flowers) light trigger germination, a root pushes down and a shoot pushes up. That shoot becomes a seedling, which builds its root system and leaf structure before eventually shifting energy into producing flowers. The whole journey from seed to first bloom varies by species, but here are reliable benchmarks for four popular beginner flowers:
| Flower | Germination | Seed to Bloom | Notes |
|---|---|---|---|
| Marigold | 5–7 days | 45–70 days | One of the fastest and most forgiving annuals |
| California Poppy | 7–14 days | ~8 weeks (56 days) | Direct sow only; dislikes transplanting |
| Cosmos | 5–10 days | ~60–75 days | Thrives in poor soil; don't over-fertilize |
| Snapdragon | 8–14 days | ~12 weeks (84 days) | Start indoors; prefers cool growing conditions |
These timelines run from the day you plant the seed, not from transplant date. Keep them in mind as you plan backward from your desired bloom window or work forward from your last frost date.
Preparing your soil, containers, and planting plan
Good setup is where most of your success gets decided. A few hours of preparation here saves a lot of frustration later.
Step 1: Know your frost dates and hardiness zone
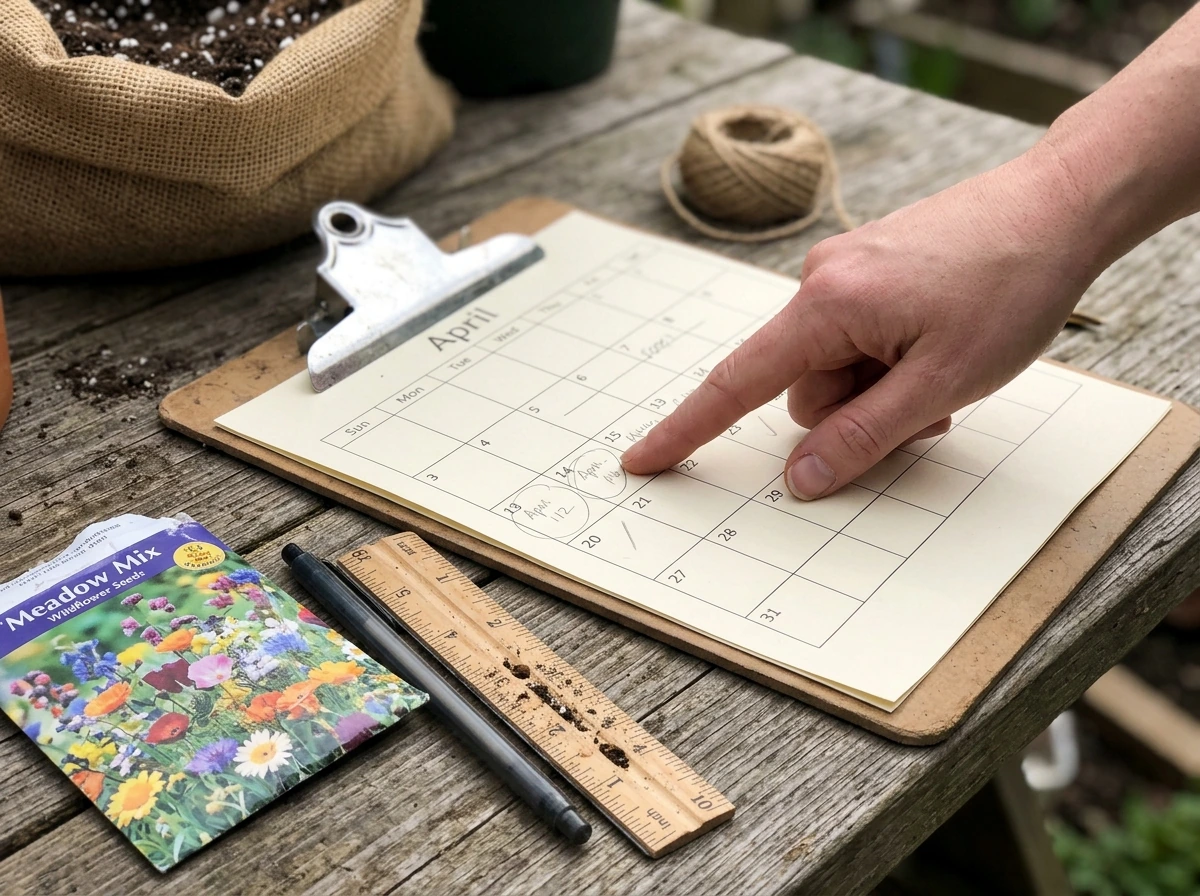
Your USDA hardiness zone and average last frost date are the two numbers that drive almost every timing decision you'll make. Look them up before you buy a single seed packet. Planting too early in cold soil stalls germination and invites disease; planting too late means some flowers won't have enough season to hit their peak. Snapdragons, for example, go in the ground about 12 weeks before your last frost. Marigolds and cosmos, on the other hand, go in after your last frost date when soil has warmed. Knowing the difference saves your plants.
Step 2: Choose your growing method
Decide whether you're starting seeds indoors, direct sowing outdoors, or using containers. Flowers like poppies and California poppies should be direct sown because they hate having their roots disturbed. Snapdragons and cosmos benefit from an indoor head start. Marigolds are flexible and work well either way. Containers are a great option for beginners, they give you control over soil quality, drainage, and placement.
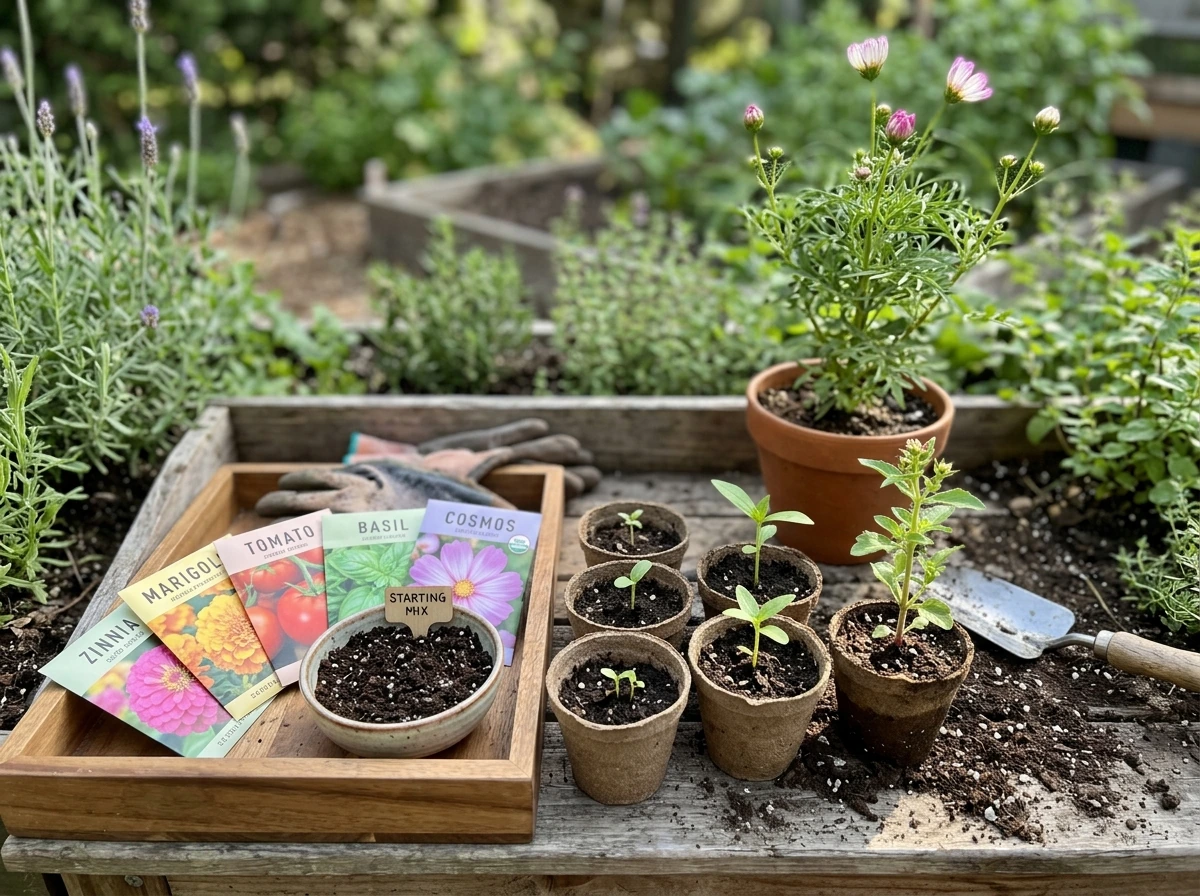
Step 3: Prepare your soil or growing medium
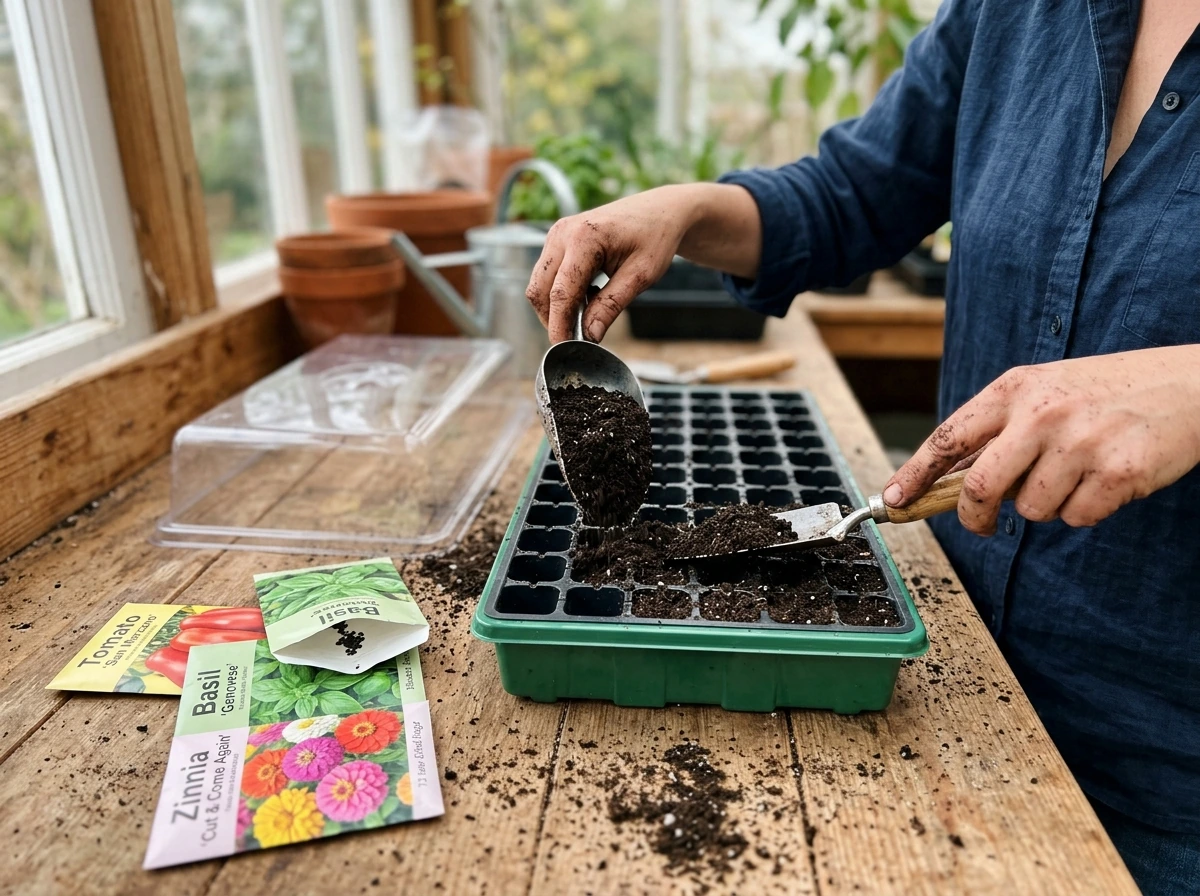
For indoor seed starting, always use fresh, sterile seed-starting mix, not garden soil. Garden soil compacts in trays, drains poorly, and carries pathogens that cause damping-off. For outdoor beds, loosen the soil to about 6 inches deep and work in compost if drainage is poor. Most ornamental annuals prefer well-draining, moderately fertile soil. Resist the urge to over-amend with fertilizer at this stage, too much nitrogen early on pushes leafy growth at the expense of flowers.
Step 4: Plan your spacing before you plant
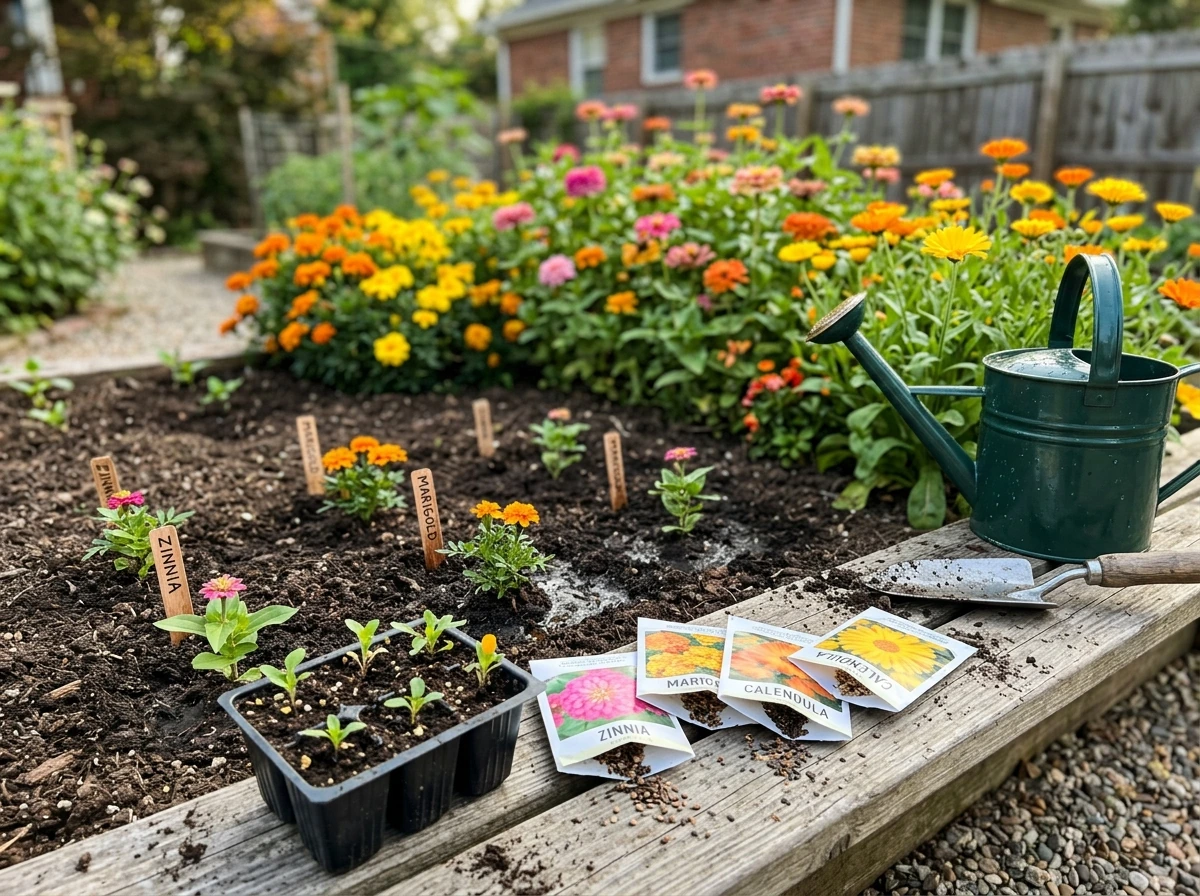
Crowded plants compete for light, water, and air circulation, and poor airflow is one of the main reasons fungal diseases take hold. Zinnias, for instance, do best at roughly 9 to 12 inches apart. Check the seed packet for your specific variety. If you're planting a cutting garden or a mixed bed, sketch out your layout first so taller varieties end up at the back and shorter ones at the front.
Germinating your seeds: light, moisture, temperature, and what goes wrong
Germination is the stage where most beginners lose confidence, usually because of one of three things: planting too deep, keeping the medium too wet, or not providing enough warmth. Let's fix all three.
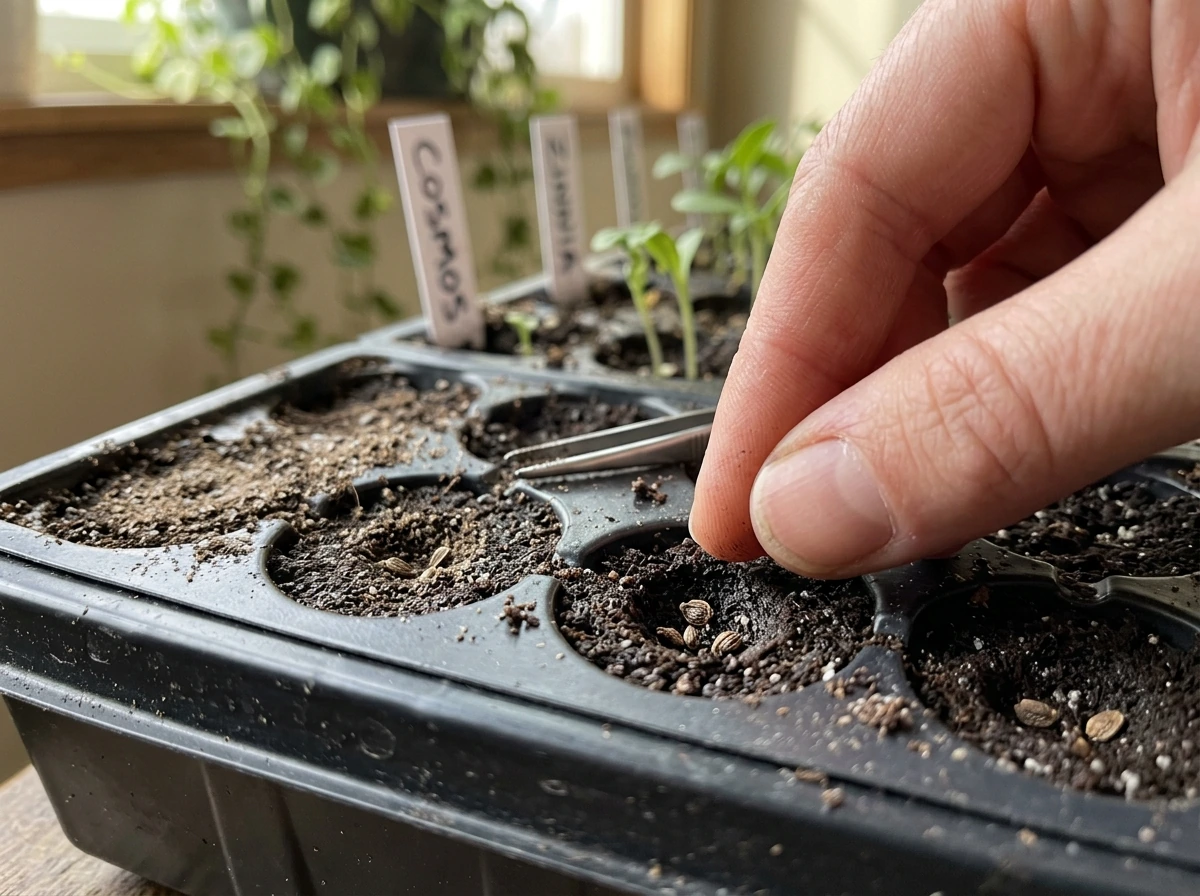
Step 5: Plant at the right depth
A good general rule is to cover seeds to about three times their own thickness. Tiny seeds like snapdragons should barely be pressed into the surface at all, they actually need light to germinate, so covering them defeats the purpose. Zinnia seeds go in at about 1/4 inch deep. Cosmos seeds go in at about 1/4 to 1/2 inch (roughly 6 mm). Your seed packet is the most reliable reference, but when in doubt, shallower is usually safer than deeper.
Step 6: Nail the moisture and temperature
Seeds need consistent moisture to germinate, but not soggy conditions. Mist the surface rather than drenching it, and cover trays loosely with a humidity dome or plastic wrap to hold moisture in. Remove the cover as soon as seedlings emerge. Temperature matters more than most beginners realize. Marigolds germinate reliably starting around 70°F (21°C). Cosmos like it between 70°F and 80°F. A seedling heat mat placed under your trays brings soil temperature up to that sweet spot, especially in cool spring rooms. Bottom heat around 70 to 75°F is one of the most effective things you can do to speed and improve germination rates.
Step 7: Provide light once seeds sprout
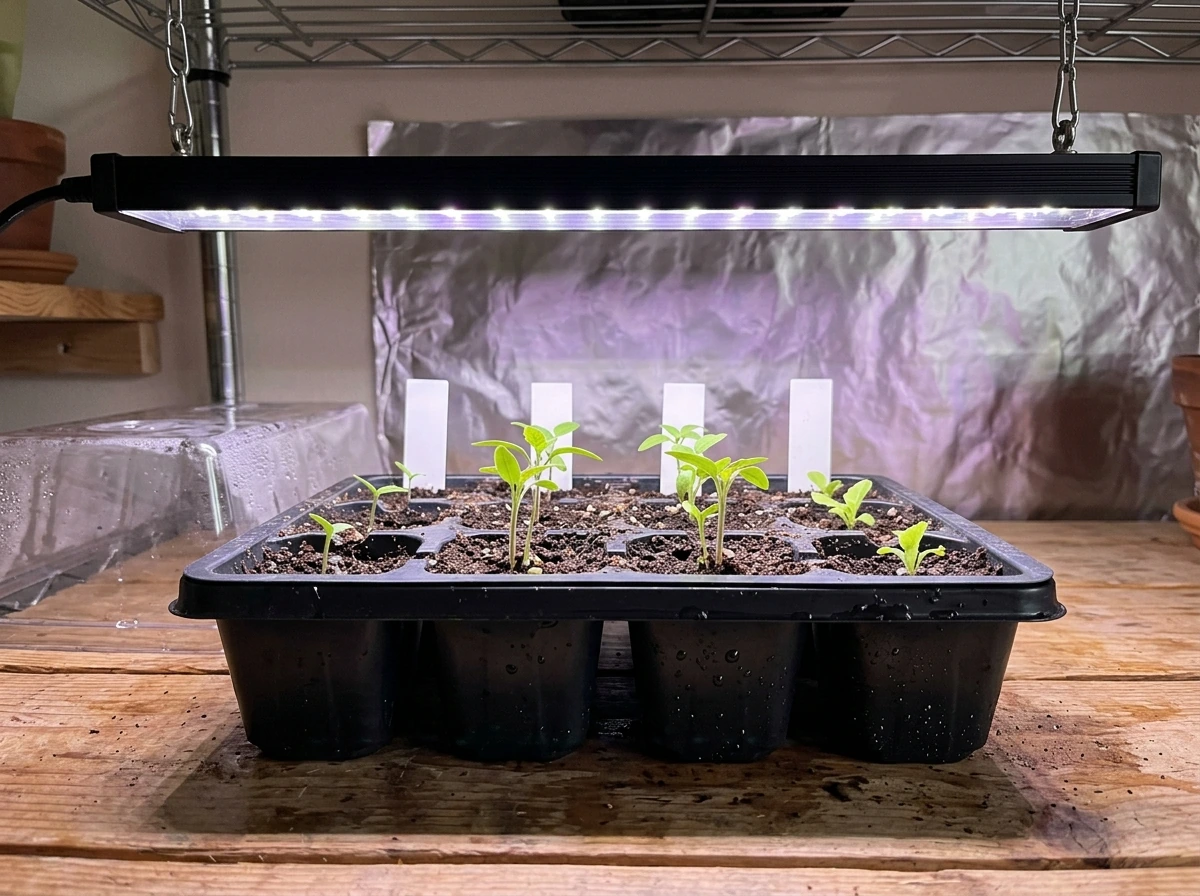
As soon as you see any green, move seedlings under light immediately. A basic fluorescent or LED grow light on a 16-hours-on, 8-hours-off schedule does the job reliably. Position lights just a few inches above the seedling tops and raise the fixture as the plants grow.
Germination troubleshooting
- Nothing sprouted after 2+ weeks: Check soil temperature first. Cool soil is the most common culprit. Also confirm seeds weren't planted too deep.
- Seeds sprouted then collapsed at the soil line: This is damping-off, a fungal issue. It's almost always caused by overwatering, poor airflow, or reused/unsterilized potting mix. Use fresh mix, water from the bottom, and improve air circulation.
- Seedlings are leggy and pale: Not enough light. Move them closer to the grow light or increase hours.
- Seeds rotted before sprouting: Too much moisture. Let the surface dry slightly between mistings and make sure your tray or pot has drainage holes.
Taking care of seedlings: watering, light, thinning, and hardening off
Once you have seedlings, your job shifts from triggering growth to supporting it. This phase is where small decisions compound into big results.
Step 8: Water correctly
Bottom watering is the most reliable method at this stage. Set your trays in a shallow container of water and let the mix soak it up from below. This keeps foliage dry, reduces the risk of damping-off and fungal issues, and encourages roots to grow downward. For snapdragons especially, avoid pouring water directly onto the seedlings as it can displace the fine soil around those tiny surface-sown seeds.
Step 9: Thin seedlings without guilt
If multiple seeds germinated in the same cell or spot, thin them down to one strong seedling. I know it feels wasteful to snip healthy plants, but leaving crowded seedlings to compete results in all of them being weaker. Use small scissors to snip extras at soil level rather than pulling them out, pulling disturbs the roots of the seedling you're keeping.
Step 10: Harden off before moving outdoors
Indoor seedlings are soft. Moving them directly into outdoor conditions shocks the plant and can set growth back by weeks. Hardening off means gradually introducing your seedlings to outdoor conditions over 7 to 10 days. Start with an hour or two of filtered outdoor light in a sheltered spot, then progressively increase exposure each day. By the end of the week, they should be able to handle full sun and outdoor temperatures without wilting. Don't skip this step, it genuinely makes a difference.
Transplanting and getting your plants established
Transplanting is less about technique and more about timing. Getting that right is most of the battle.
Step 11: Wait for the right conditions
For frost-sensitive flowers like marigolds, cosmos, and zinnias, transplant only after your last frost date has passed and overnight temperatures are staying consistently above 50°F. Snapdragons are cool-season plants and can go out earlier, generally 2 to 4 weeks before your last frost as long as hard freezes aren't in the forecast. Transplant on a cloudy day or in the evening to reduce transplant stress.
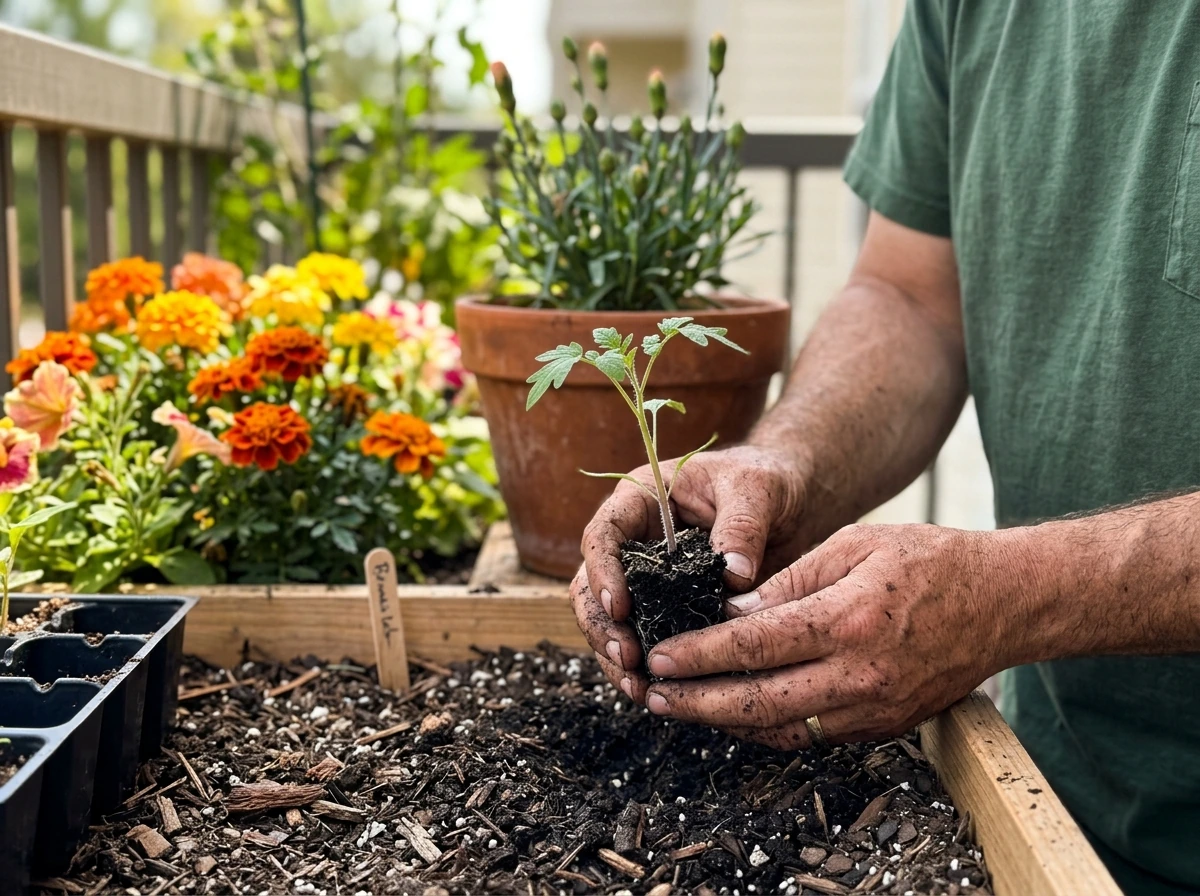
Step 12: Transplant with care
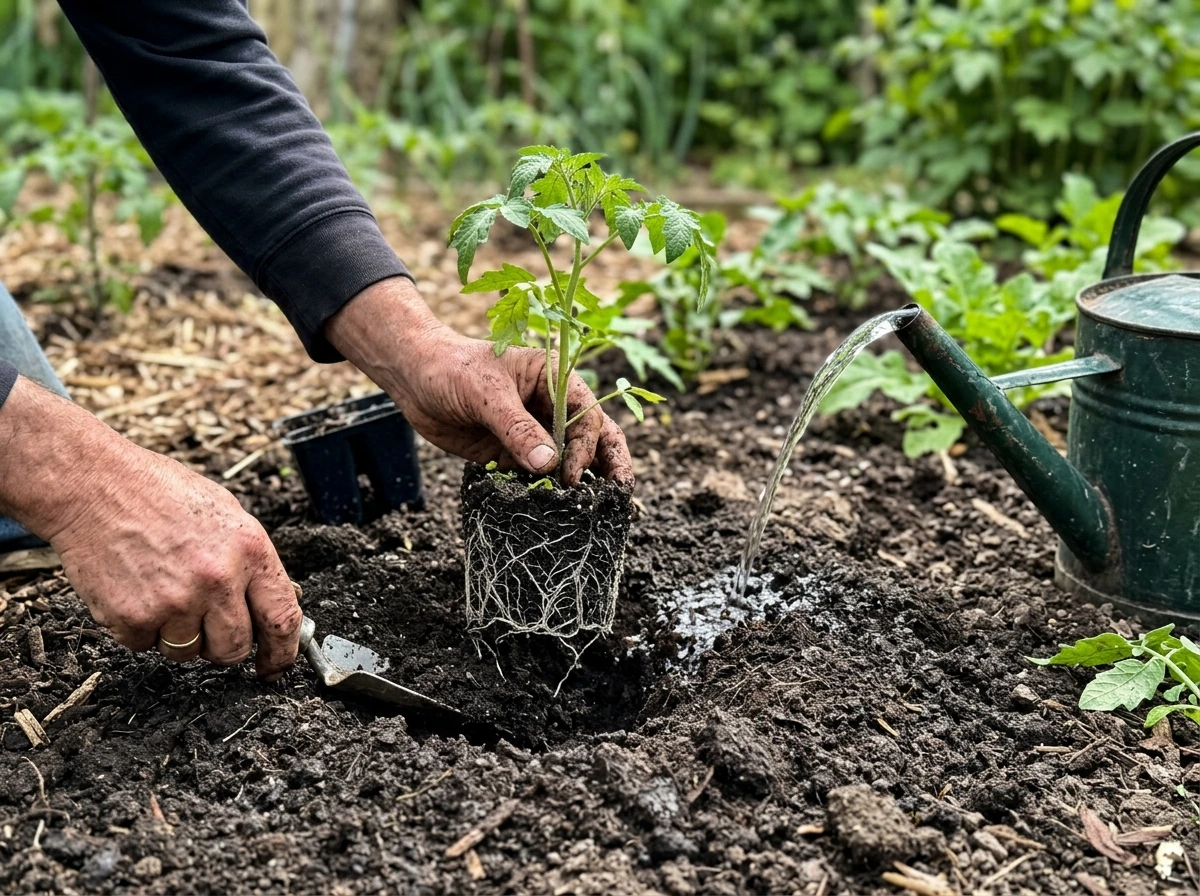
- Water seedlings thoroughly an hour before transplanting so roots are hydrated.
- Dig a hole slightly larger than the root ball.
- Tip the seedling gently from its cell or pot, keeping the root ball intact.
- Set it in the hole at the same depth it was growing (don't bury the stem unless you're planting tomatoes, which is a different story).
- Firm the soil around the roots and water in gently.
- For snapdragons, transplant to a larger container when the first true leaves appear, roughly 3 to 4 weeks after sowing, before moving them outside.
Step 13: Support establishment
For the first week after transplanting, water consistently, every day if it's sunny and warm. Don't fertilize yet, let the roots settle in first. Some wilting in the first day or two is normal. If a plant looks stressed for more than three days, check that it's not sitting in waterlogged soil and that it's not getting blasted by intense afternoon sun while it's still adapting.
Ongoing care from transplant to first bloom
Once your plants are established, care shifts into a steady rhythm of feeding, monitoring, and encouraging continuous flowering, part of the broader process of how to grow flowering plants.
Step 14: Feed appropriately
Most ornamental annuals don't need heavy feeding. A low rate of a slow-release, balanced fertilizer mixed into the soil at planting time is usually enough to carry marigolds and cosmos through the season. If you're growing in containers, where nutrients leach out faster, a diluted liquid fertilizer every two to three weeks keeps things going. The key word is low. High nitrogen rates push lush foliage but reduce flower production and can contribute to root problems. When in doubt, less is more.
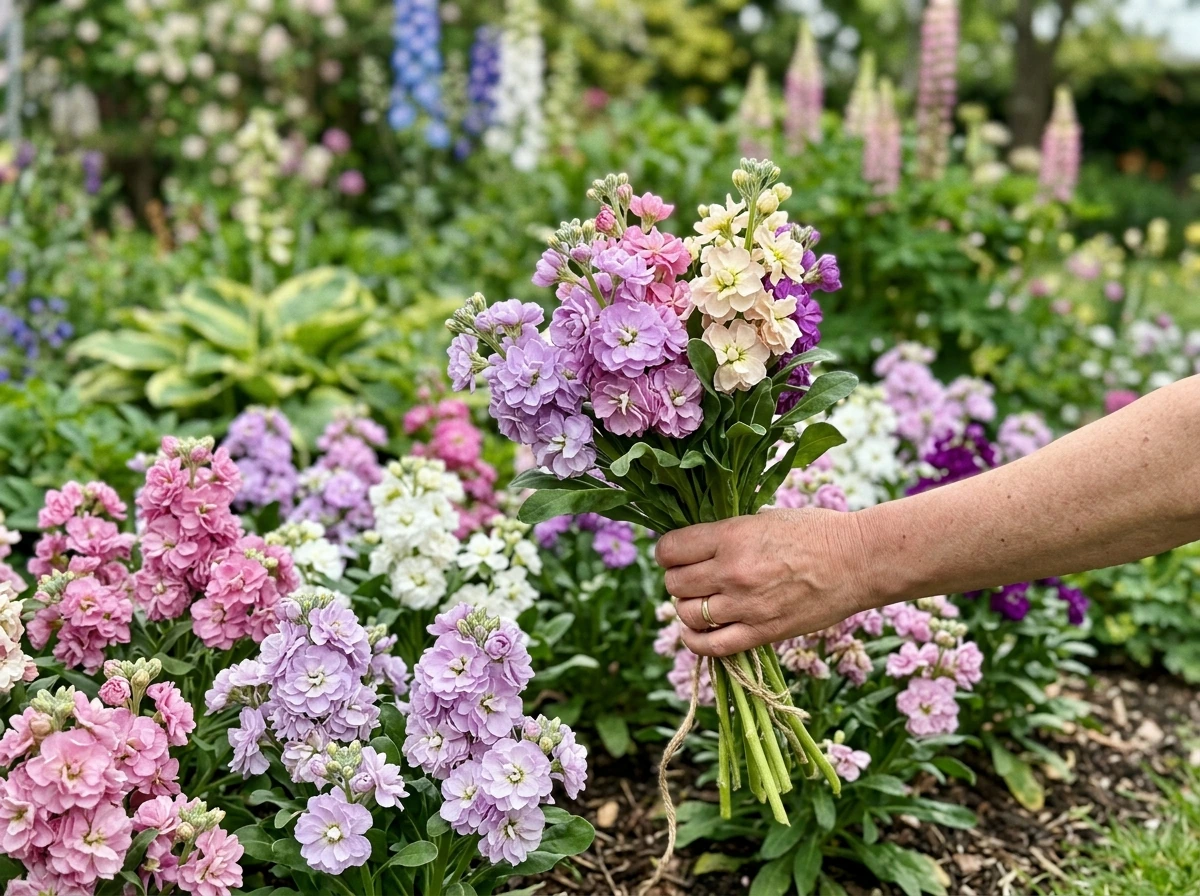
Step 15: Deadhead to keep flowers coming
Deadheading, removing spent flowers before they set seed, is one of the simplest and most effective things you can do to extend your bloom season. When a plant sets seed, it thinks its job is done and slows down flower production. Pinching or snipping off faded blooms redirects that energy into making more flowers. For marigolds, regular deadheading keeps them going from late spring all the way to frost. For snapdragons that stall during summer heat, cutting back the spent flower stalks encourages re-blooming when temperatures cool in late summer.
Step 16: Handle pests and disease before they get ahead of you
Prevention is far easier than treatment. The two most common problems with ornamental annuals are fungal diseases (like powdery mildew on zinnias) and aphids. For fungal issues, the biggest preventive measure is airflow: space plants properly, water at the base rather than over the foliage, and avoid evening watering that leaves leaves wet overnight. Snapdragons are prone to rust, and the same advice applies: water the soil, not the leaves. For aphids, check the undersides of leaves weekly and knock them off with a firm stream of water before populations explode. Catching problems at the first sign is almost always easier than dealing with a full infestation or a plant that's already badly diseased.
End of season: harvesting seeds and setting up next year
If you want to save seeds from your best plants and carry that success into next season, the process is simple, it just requires patience and good timing.
Step 17: Know when seeds are ready to collect
Don't collect seeds early. Green seeds aren't viable. Wait until seed heads have turned brown, dry, and papery. For marigolds, the spent flower head will look toasty and dry, and the seeds inside will feel brittle. Wildflower seed heads are ready when they feel dry and crumbly to the touch. For any plant, pods that rattle or start to split open are telling you they're ready. Collect on a dry day after morning dew has evaporated.
Step 18: Dry and store seeds properly
After collecting, spread seeds or seed heads in a single layer inside a paper bag or on a paper towel. Let them continue to dry for an additional 2 to 4 weeks in a cool, low-humidity spot. Once fully dry, brittle seeds can be cracked or rubbed free from pods and then stored in labeled paper envelopes or small glass jars. The key storage rule: keep temperature and relative humidity low. A useful benchmark is that temperature (in °F) plus relative humidity (as a percentage) should stay below 100. A cool, dry cupboard or the back of a refrigerator works well. Moisture causes mold and kills viability faster than anything else.
Step 19: Prep your beds for next season
Once your annuals have finished for the year, clear spent plant material from the bed rather than leaving it in place. Old foliage and stems harbor overwintering disease spores and pest eggs. Add a layer of compost to replenish organic matter, and your soil will be in better shape come spring than it was this year. If you're growing in containers, dump the old potting mix (don't reuse it for seed starting) and clean the pots before storing them. These small end-of-season habits make a genuine difference in how clean and productive your garden is next time around.
How the steps vary by flower type
The core steps above apply to almost every ornamental annual, but a few specific differences are worth knowing before you start.
| Flower | Start Method | Key Timing Note | One Thing Not to Skip |
|---|---|---|---|
| Marigold | Indoors or direct sow | Direct sow after last frost; soil ~70°F for reliable germination | Deadhead consistently for season-long bloom |
| California Poppy | Direct sow only | Sow in early spring; tolerates light frost at germination | Do not transplant; disturbed roots = failed plants |
| Cosmos | Indoors 5–7 weeks before last frost or direct sow | Soil above 60°F for outdoor sowing | Don't over-fertilize; poor soil gives more flowers |
| Snapdragon | Start indoors 12 weeks before last frost | Cool-season flower; transplant 2–4 weeks before last frost | Cut back spent stalks in summer for fall re-bloom |
If you're new to growing flowers from seed and want the most forgiving starting point, marigolds are genuinely hard to beat, and if you’re learning how to grow stock flower, they’re a great stepping stone before you branch out to taller bloomers. They germinate fast, bloom quickly (as early as 45 to 50 days from seed), handle a little neglect, and reward deadheading generously. Once you've got a season with marigolds under your belt, branching out to snapdragons, cosmos, or poppies feels much less daunting. The steps are the same, the quirks are just slightly different. For more on building a full flower garden from these varieties, it's worth exploring how these species work together in a mixed planting plan.
FAQ
What should I do if my indoor seedlings get tall and floppy before they’re ready to move outside?
If seedlings look “leggy” before you plant outdoors, don’t just raise the light higher or give more water, first check that your photoperiod is long enough (about 16 hours on daily indoors) and that the fixture is only a few inches above the tops. Legginess is usually an imbalance of light versus warmth, so lowering room temperature slightly can help once they’re under proper lighting.
How can I avoid overwatering when I bottom water seed trays?
For indoor starts, bottom watering is ideal, but you still need a drainage escape route. Make sure trays have no standing water in the bottom reservoir after the soak time, and only refill after the mix has pulled it down. Constant wet bottoms can defeat the damping-off prevention by keeping roots oxygen-starved.
When exactly should I thin seedlings, and is it ever too late to do it?
Thinning is best done as soon as you can identify the strongest seedling, usually within a few days of emergence. If you wait too long, the crowded seedlings can tangle and pull up the one you want to keep, and the survivors often stay stunted longer.
What are signs my seedlings or container plants are getting too much fertilizer, and what should I do?
Yes, many flowers are sensitive to salt buildup, especially in containers. If you fertilize too early or at too high a rate, you may see leaf tip burn or slow flowering. A practical fix is to pause feeding for a few weeks and flush containers with plain water until extra drains out, then resume at a lower frequency and strength.
My direct-sown seeds didn’t germinate. What are the first things I should troubleshoot?
If direct-sown seeds fail, the most common reason is depth plus soil temperature mismatch. Recheck packet depth rules (for tiny, light-requiring seeds like some snapdragons, surface contact matters), then confirm the soil is warm enough for that species before resowing. Also avoid crusting, if the surface hardens it can block tiny shoots.
Can I transplant before the last frost if I use frost protection?
You can transplant earlier than the last frost date only for the specific cool-season crops, and even then avoid periods of sustained hard freezes. If night temperatures swing below freezing, cover cloth can buy time, but it should be removed during mild days to prevent overheating.
What should I check when a newly transplanted flower wilts for more than a day or two?
If plants start wilting after transplanting, first determine whether it is heat stress, drought, or root-zone waterlogging. Check the soil moisture 1 to 2 inches down, if it feels wet and heavy, you likely overwatered or drainage is poor. If it feels dry and crumbly, increase frequency and water more deeply rather than more often.
Does deadheading mean the same thing for every flower, or do different plants need different cuts?
Deadheading works differently for each plant. For marigolds, removing faded blooms regularly keeps producing new buds, while snapdragons often respond to cutting back spent flower stalks, not just individual flowers. If you deadhead lightly but growth stalls, it may be time for a more complete stalk cut for that species.
Can I save seeds from my best flowers and still expect good germination next year?
You can, but only if the harvested seeds are fully dry and stored correctly. If you collect late or store in humid conditions, viability drops quickly. Follow the dry-and-cool storage benchmark (temperature plus relative humidity should stay below 100), and label by variety and collection date so you can track performance.
Is it okay to reuse potting mix from a container that already grew annual flowers?
Reuse is risky for seed starting because dormant pathogens can survive in old media and you may also introduce uneven nutrient levels. The safer rule is to discard old potting mix for containers used through the season, then clean and sanitize pots before starting new seeds.
Next Articles
How to Grow Stock Flowers From Seed to Bloom
Step-by-step how to grow stock flowers from seed to bloom, including timing, care, troubleshooting, and cut-flower harve
How to Grow a Flower Garden: Step-by-Step From Seed to Bloom
Step-by-step guide to grow a flower garden from seed to bloom, with planting, care, timing, and troubleshooting.
How to Grow Flower: Seed to Bloom and THCA Flower Basics
Step-by-step how to grow flowers from seed to bloom plus separate THCA flower cultivation basics, setup, stages, and tro